I've read all that and the phrase that kept popping up is 'more power'. Hmm, more power you say? Well, I'd like to give that a try. So, here we are, nearly six years after buying the bike, and I'm just getting around to removing the 'box.
Previously, I did all the "free" air box mods: removing the snorkel, widening the intake opening and removing the restrictor. That worked well for a time but I couldn't resist the allure of More Power. More power is better because there's more!
Prefab removal kits are available from numerous online vendors and they come with all the filters, mounts and a nice metal battery box. The problem is they're all around $300, which is one of the reasons it's taken me six years to eighty-six the 'box. Three hundred dollars for some filters and a bit of metal? There has to be another way.
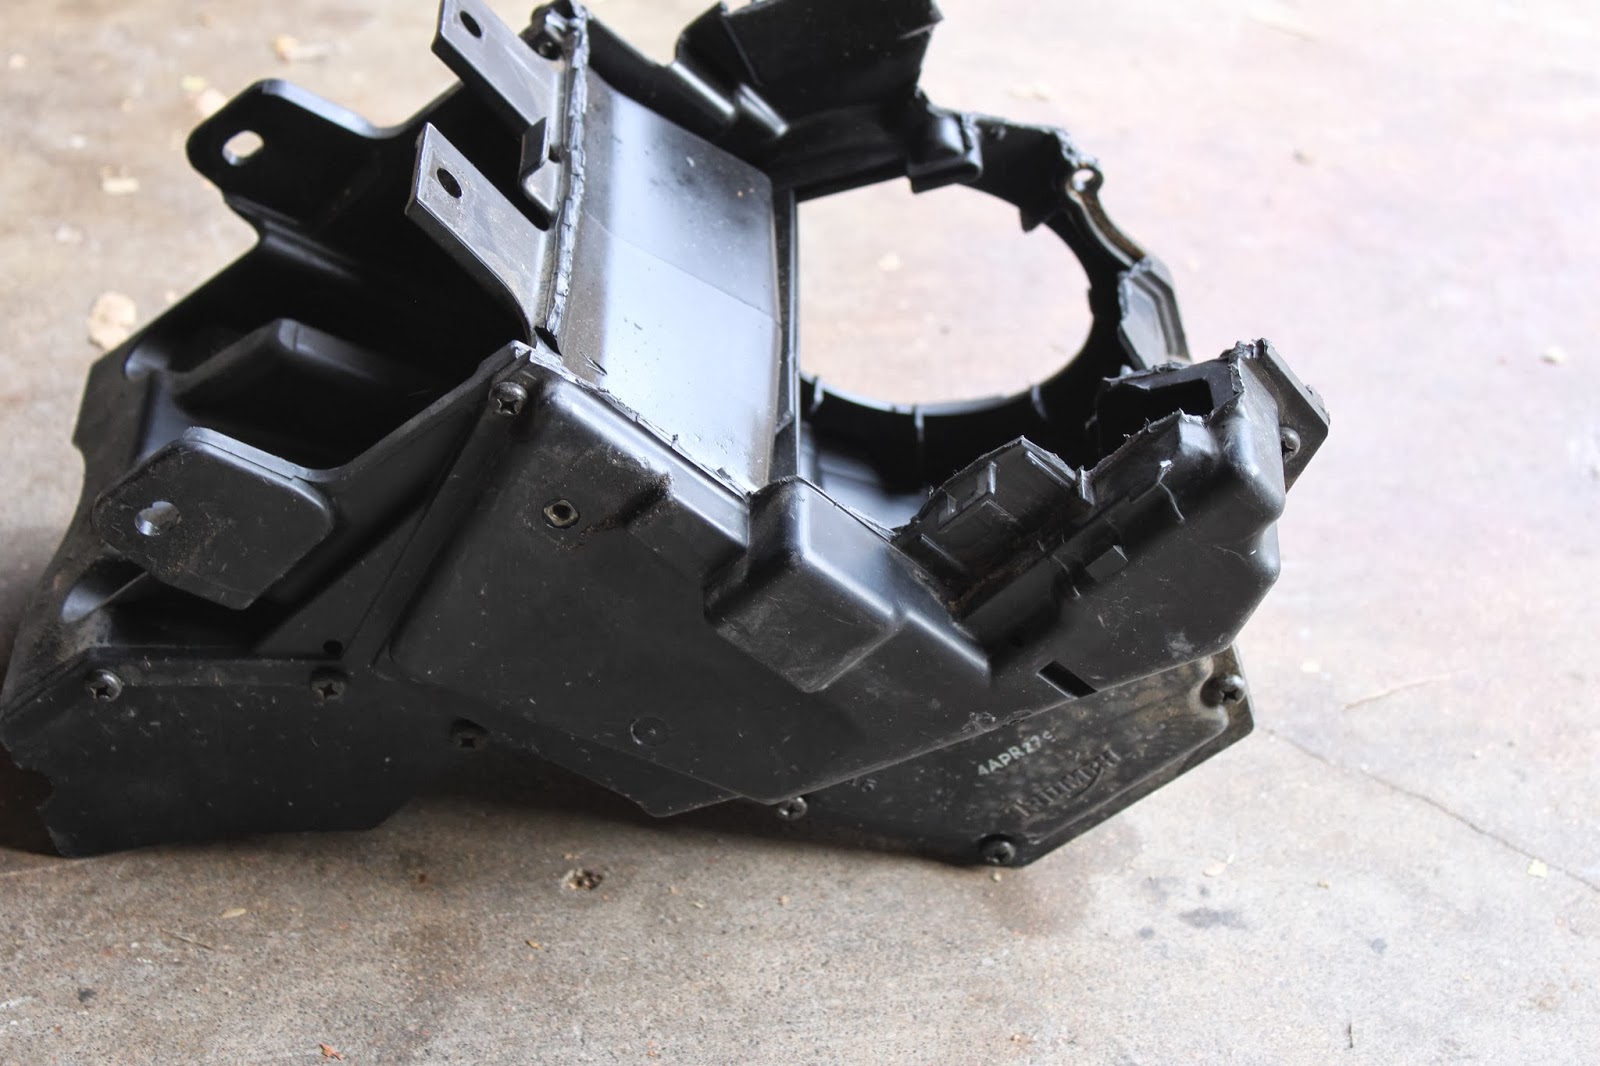
I lieu of shelling out the cash for a fancy kit, I decided to chop up the stock 'box. Naturally, I wasn't going to chop up the 'box that came with my bike, so a spare was sourced off Ebay for $10. Using other chopped air boxes as guides, I carved that mother up.
Next I had to put it in and here's how that went down:
First, let's get a look at what's behind the side covers:


To get the 'box out, we'll have to remove the rear fender, so let's do that:


Removing the 'box requires a lot of finagling and the removal of both sides. Also, the bike needed to go a bit higher to get the box all the way out. Once it's out you should see this:


Right, with the jetting done it's now time to put the filters on. I used foam filters from Uni because they flow better than K&N filters and are much cheaper. I'll be honest, the better flow rate wasn't my top priority. Oil them before installation and you should be rewarded with this view:


On this side, you'll notice an extra filter. That's for the crankcase breather. Normally it would vent straight to the air box to be ingested by the engine. Since that part of the 'box is gone, it will have to vent to its own filter. The stock rubber hose will work in a pinch with a filter of the correct size but I found it easier to buy new line and use this filter from the parts store. A quick trip to Home Depot for the correct adapters and that was done. A side benefit is that it hides the filter behind the side cover.
Finally, bolt the wheel back up, swing the exhausts back into place, bolt the fender on and install the side covers. I found the side cover on the right to be a little bulky to put back on but I figure it's because of the pod filter.
Initial test rides show a slight dip in torque below 3,000 rpm but a nice, throaty wail and lots of thrust above that. I might put the 145 jets in just to see but right now, it's running quite well. A/F readings show a nice 12.5-13.0 at idle once warmed up, a cruising ratio of 13.5-14 and full-throttle readings of 13.0-13.5.
I'm quite satisfied and it was worth the wait. This mod will tide me over for the time being, at least until I can spring for some 39mm FCRs. In the meantime, I'm looking into some bits for the front suspension, so stay tuned for that.
No comments:
Post a Comment